Jump to Key Sections
On Windows, it is easy to create an installation disk for any system, as there are many software programs available. On the contrary, it is really troublesome to create a Windows 10 bootable usb on macOS Monterey, because the software that supports it is too small and does not work well, and although it is easy to use the command, you also have to solve the problem of the large file install.wim, because the FAT32 format is too large to copy directly into.
In this article we will cover a variety of methods to help you make a windows 10 boootable usb on macOS.
Download Windows 10 ISO File
- Before you can start, you need to get an ISO image from the Windows 10 download page.
- You select Windows 10 and then select the language.
- Two links will be provided for download. One for the 32-bit version and the other for the 64-bit version. The 64-bit version is usually required. Just download the image of interest to your Mac.
Method 1. Create Windows 10 Bootable USB on macOS using BootCamp
Although we now focus on making bootable USB, you may need to complete a Mac backup using Time Machine beforehand, especially if you are not familiar with formatting USB.
Step 1. Connect a USB flash drive to your Mac – it will be erased and turned into a Windows bootable installer drive.
Step 2. Open the Boot Camp Assistant application in /Applications/Utilities/ (or use Spotlight to launch it).
Step 3. Check "Create an installation disc for Windows 8 or later" – and now – uncheck "Install Windows 8 or later" – don’t skip unchecking it yet, otherwise Boot Camp will immediately try to install Windows on the Mac, which is not what we want to do here (for now anyway).
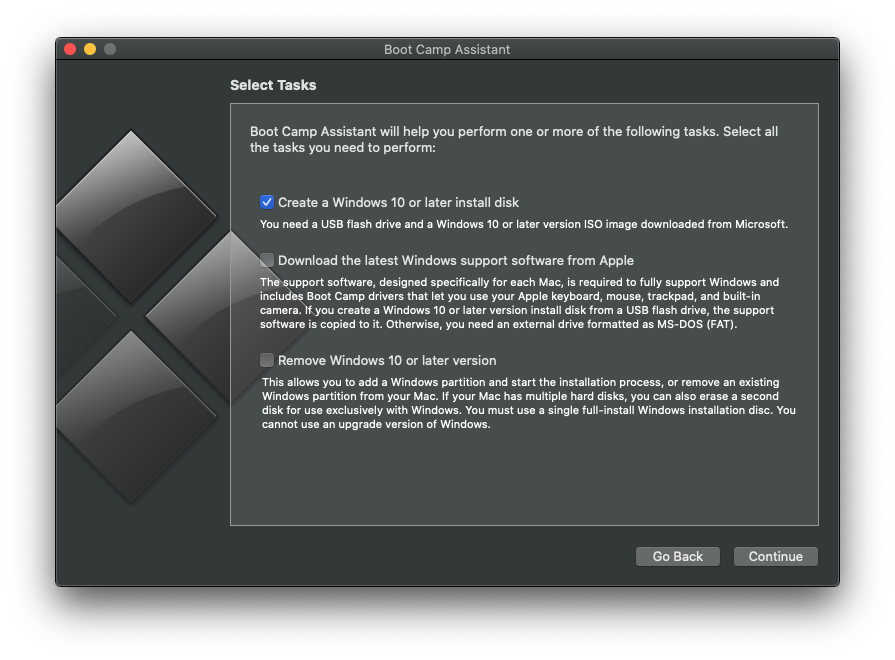
Step 4. Click the "Continue" button – you chose to install Windows instead, didn’t you?
Step 5. Click the Select button next to "ISO Image:", if the Windows 10 ISO is in your Downloads folder it may be automatically selected, but still make sure it is the correct ISO.
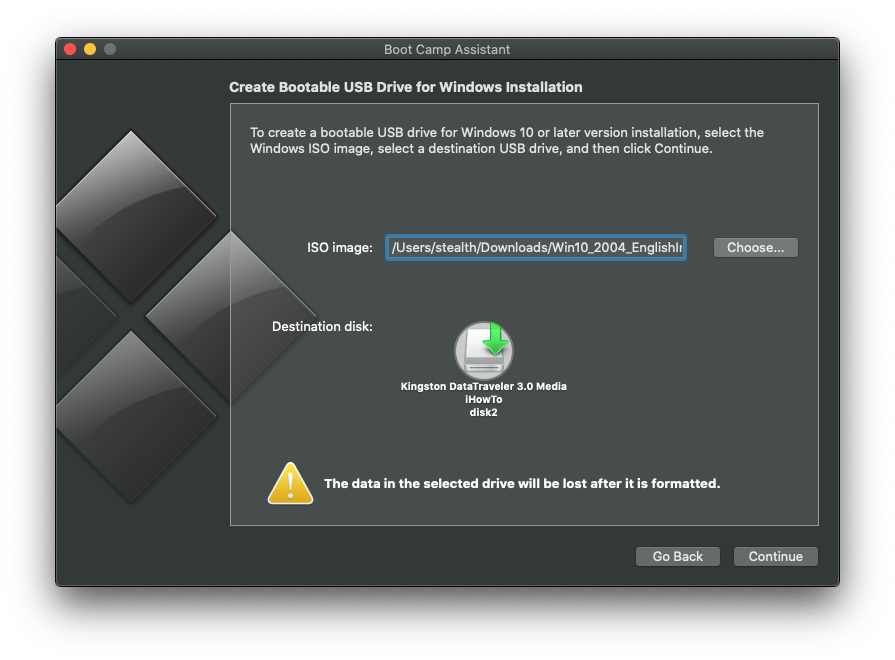
Step 6. Select the target USB drive for the Windows 10 ISO to turn into a bootable installation drive and click "Continue". Make sure you want to format the USB flash drive – make absolutely sure you have selected the correct drive in the previous step, otherwise you may erase the wrong volume – then wait a moment, it will take some time to create the installation drive for Windows.
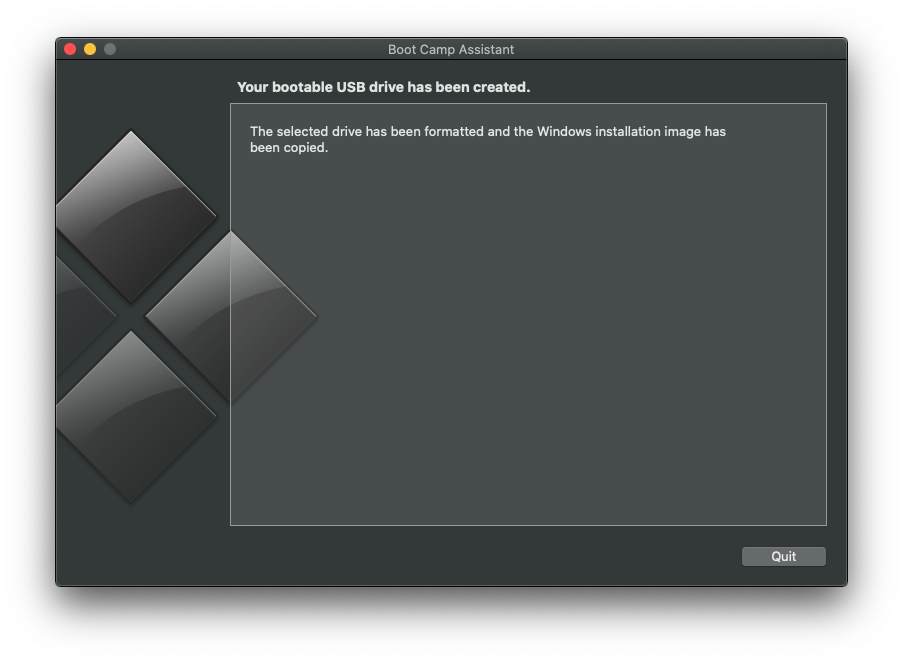
After creating the Windows 10 installer, you’ll see that the Mac’s USB drive has been renamed "WININSTALL". If you browse this volume, you’ll see it’s stuffed with .exe, .efi, .inf, BootCamp, and other files and processes that won’t run on Mac OS X because they’re Windows files.
Note: For this particular demo, we won’t cover the details of installing Windows in Boot Camp on a Mac, we’ll just focus on creating Windows installation drive for now. If you want to continue later, the Mac will need a separate partition or disc of 30 GB or larger to run Windows and, as always, a full backup of your Mac, partition or installation of any type of system software, whether Mac OS X or Windows, before changing any settings.
This method is only suitable for versions prior to macOS big sur, as the BootCamp tool seems to have been abandoned by Apple since macOS Big Sur, as it is not known how to execute the program.
Method 2. Create Windows 10 Bootable USB on macOS Monterey using UUBYTE
If you really don’t want to use Bootcamp, try something like the UUBYTE ISO Editor tool, then it’s almost a solution, which will make the whole process of creating bootable Windows 10 very easy. And ISO Editor is easy to use, so even a novice can get started quickly. Open it, insert your USB drive, browse to your ISO file and finally click Start.
The core technology of ISO Editor is that it can support UEFI and MBR boot methods, and can split ISO files larger than 4GB into two small files, and then write the rest to USB and finally splicing them into a complete bootable ISO file . Other software on the market cannot split large files, which will cause your bootable USB fails to install Windows.
Let’s see how to create Windows 11 bootable usb from ISO on macOS Monterey.
Step 1: Download ISO Editor to your computer, both Windows and Mac are supported. After the download is complete, install and launch.

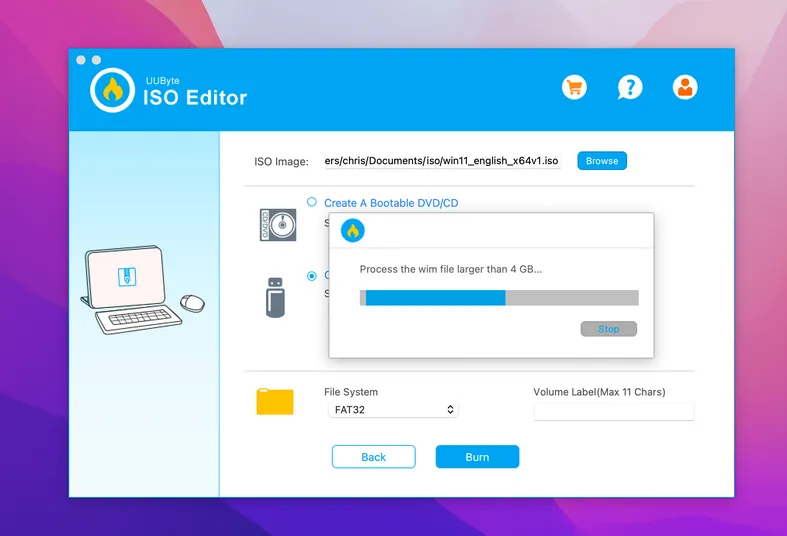
Step 2: Insert your USB drive, your Mac will automatically recognize it, and so will ISO Editor. Open the "Burn" option to enter the BURN operation interface. Click "Browse" to import your ISO file, then select your USB drive. At the same time, you can choose UEFI or MBR boot method according to your ISO file.

You can also choose the system file type.
Step 3: When ready, click the BURN button to start making the Windows 10 boot disk. Generally, this process takes 10 to 15 minutes to complete.
In addition, since NTFS files cannot handle ISO files larger than 4GB, if your ISO file exceeds 4GB in size, the program will automatically divide it into two small parts, so that the created boot disk can install Windows normally.
Once done, you willhave a real USB boot disk that you can use to install Windows on any other computer.
Method 3. Create Windows 10 Bootable USB on macOS Monterey using Terminal
We will need to format the USB stick we are going to create. To do this, we need the disk utility that you will find in the Utilities folder in your Applications.
Step 1. You will then select your USB stick and click on the "delete" button. In the window that appears, you will have to give a name to your key, choose the "MS-DOS (FAT)" format and the "Master Boot Record (MBR)" scheme
Step 1. Be careful, all these parameters are important, and remember the name of your new key. If you don’t have exactly this window, there is a bug somewhere. Don’t try to go any further without having solved it.
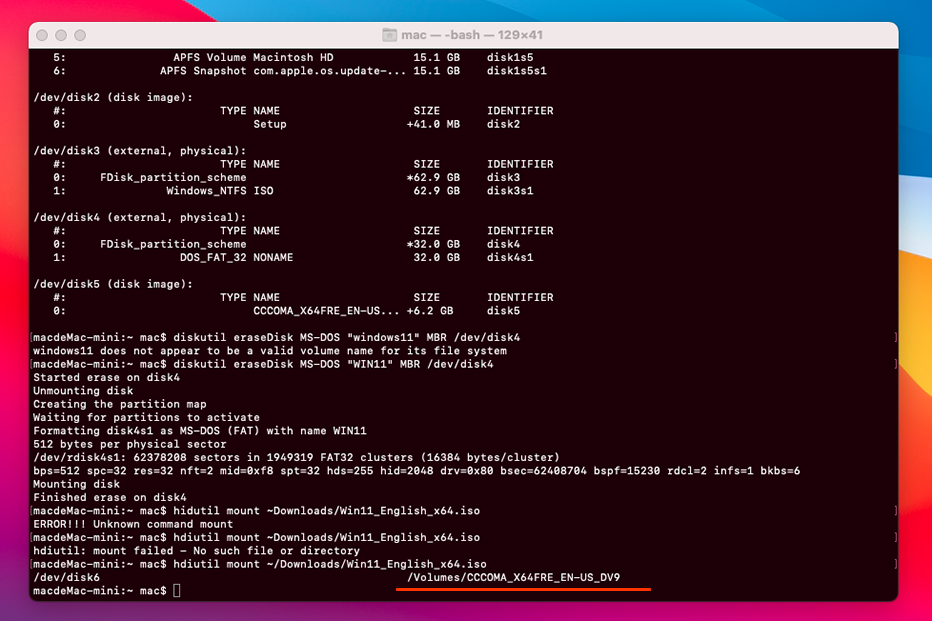
Step 3. Now we have everything. It will be necessary to launch the "Terminal" which one finds in the folder "Utilities" of your "Applications", then type the following command to mount ISO image. After mounted, carefully note the volume name of this image at the top of the window. In my case, it is /Volumes/CCCOMZ_X64FRE_FR_DV9.
$ hdiutil mount ~/Downloads/Win11_English_x64.iso
Step 4. We must start to install Homebrew. Homebrew is a package manager that simplifies adding features to your system. Type the exact command below in your terminal (there is no line break).
/bin/bash -c "$(curl -fsSL https://raw.githubusercontent.com/Homebrew/install/HEAD/install.sh)"
The utility should ask you for your password. The installation may take a while, don’t be surprised. Once this first installation is finished, type the following command in the terminal:
brew install wimlib
This package allows the system to be able to cut the WIM file necessary for the installation of Windows 10 in files of less than 4 GB.
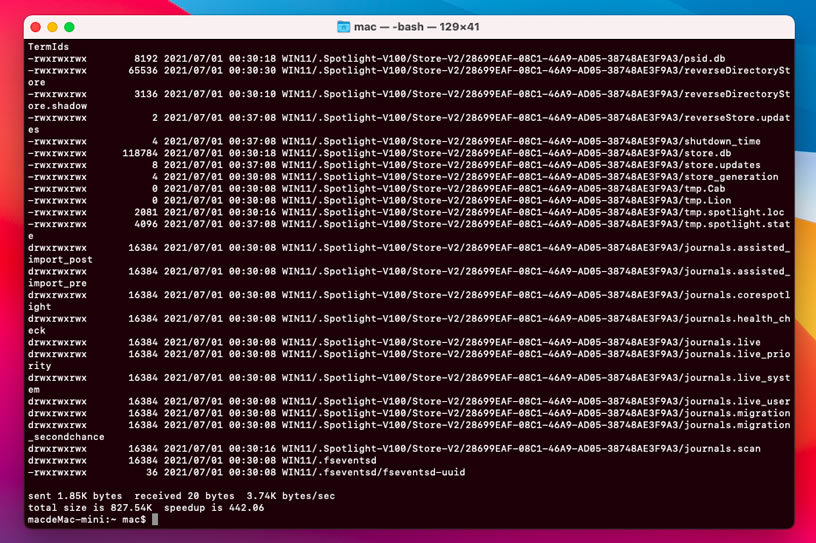
Step 5. We will then begin to copy ISO files on the USB. Take the name of the ISO volume and the name of your USB key. You will use the following command, adapting it with these two parameters (there is no line break):
rsync -vha --exclude=sources/install.wim /Volumes/CCCOMA_X64FRE_FR_DV9/* /Volumes/W10USB
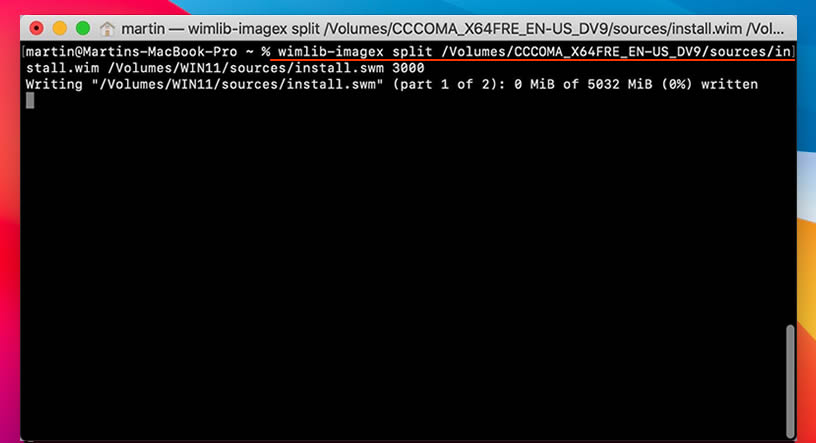
Type the following command to split the larger install.wim file so that it can be bootable.
wimlib-imagex split /Volumes/CCCOMA_X64FRE_EN-FR_DV9/sources/install.wim /Volumes/W10USB/sources/install.swm 3500
It takes about an hour to complete all these operations. It depends on the start of your Internet connection and the generation of your USB stick (USB 2 or USB 3). But now you should have a bootable Windows 10 USB stick!
That’s all! You will find many You Tube videos or articles on how to create a Windows 10 bootable USB on Mac. These methods will no longer work in 2021 because the size of Windows 10 ISO images is much larger. For example, Windows 10 20H2 is almost 6 GB. the previous method worked for images smaller than 4 GB. This is related to the fact that the file system used is FAT32, which does not support files larger than 4 GB. The problem is that you don’t notice it during operation. You will only receive an error message when you want to use the license key.