Jump to Key Sections
Shottr is a very lightweight screenshot tool for Mac we recently found on Product Hunt. The installer is only 3.2 MB in size and it is a native app built for model Macs, including Apple Silicon. According to the author introduction, this Mac app is running fast on Mac. It only needs 17 ms to take a scrolling screenshot on Mac and up to 165 ms to open the preview or built-in image editor.
Of course, it’s not just a simple screenshot tool, but it also supports scrolling long screenshots, pixel measurement, color extraction, OCR, and many other features that only paid tools offer. And yes, it’s completely free, so if you can’t use advanced features like screenshot management at the moment, you can probably use it instead of CleanShot X.
Four Screenshot Modes
Before we get into the introduction of the screenshot editor, let’s take a look at the screenshot modes supported by Shottr. To summarize them in categories, they are:
- Full-screen screenshot
- Area screenshot
- Active Window screenshot
- Scrolling screenshot
We should be familiar with all these modes, some of them can be set as shortcut keys, but some common functions like "repeat previous screenshot" can’t be set as shortcut keys, which is a pity. (I hope that shortcuts will be available in the future.
How to Take Scrolling Screenshot on Mac
There are already many browser extensions available to take scrolling screenshots on Mac for long web pages, and some browsers even have this feature built-in. However, it is not so convenient to cut long images from chat windows and text editing windows. We can use professional tools like CleanShot X, but Shottr has the advantage that it’s free and works well enough. (It’s also probably the only free tool for taking scrolling screenshot on macOS.)
This mode can be used wherever a page can be scrolled. You can scroll up or down, the effect is the same, but generally we only use scroll down.
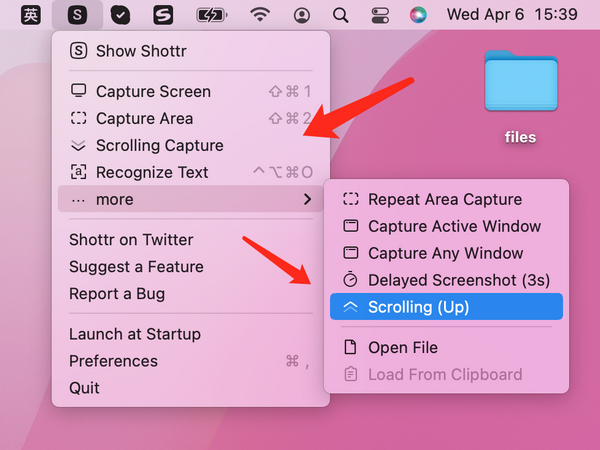
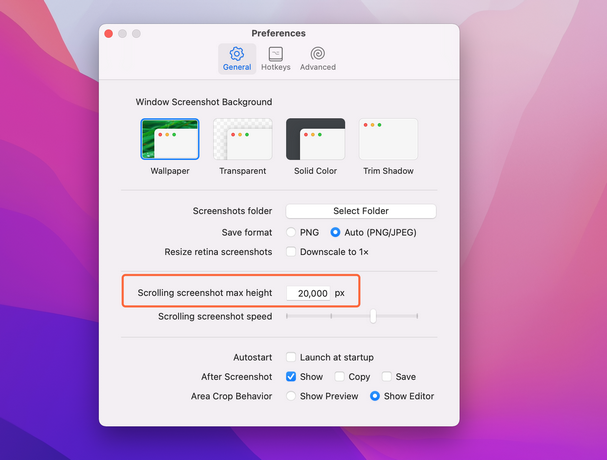
You can also set the maximum height of the long screenshot in the preferences to avoid accidentally using it in a place where you can scroll infinitely.
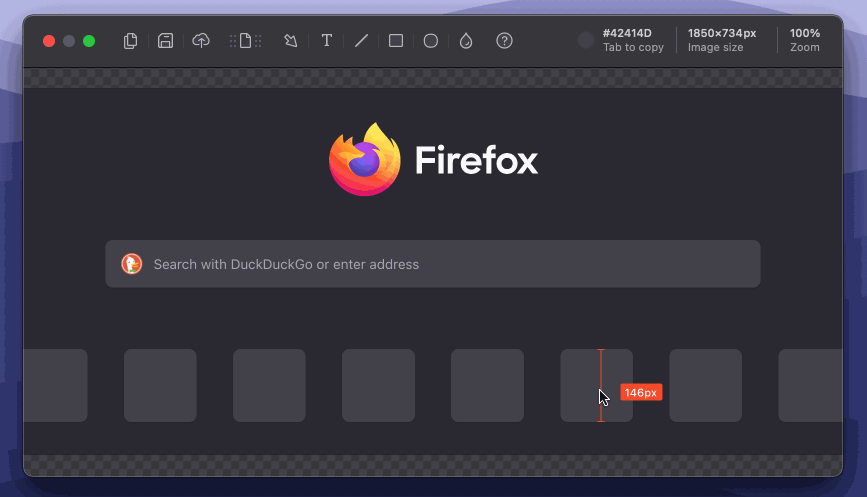
During the screenshot, you can also press esc key to stop at any time. For example, this is the process of taking a screenshot of my Mac desktop. By pressing the esc key and framing a certain area of the screen, Shottr starts to take a scrolling screenshot automatically.
Shottr is one of the best free apps to take scrolling screenshot on Mac. Despite this useful feature, there are also several helper functions for additional editing after screenshot is completed, such as cropping, markup and OCR.
Rich Editing Options
By taking a screenshot with Shottr app, you can see the editor interface looks like this.

At the top is the toolbar, which is divided into three areas. Area 1 is for file operations, including copy, save, upload, and drag and drop. Area 2 is the markup toolbar, with some common tools such as underline, arrow, and add text. Area 3 is the information bar, where you can see color values, image size, zoom level, and other information. Some of the features are more unique and will be described in detail below.
In addition, Shottr is not limited to editing only images captured by Shottr itself. In the status bar menu, you can see the options of "Open File" and "Read Image from Clipboard", which means that existing images can also be edited by Shottr editor, which is very useful.

Tips: Most of the operations can be done with shot keys. If you can’t remember, you can learn the shortcut keys by clicking the tool icon.
Zoom in and out
This is the most basic image viewing function, there is nothing to say. With zooming we can do more detailed manipulation of the image, or if you just want to get closer, then use the mouse wheel to zoom in and out. Shottr is capable of handling the pixel at grid size.
For quick zooming, you can also hold down the Z key, which turns the mouse pointer into a magnifying glass icon. Click on the area you want to enlarge, and Shottr will automatically enlarge the area to the right size.
Measure Element Size or Distance
If you are a product manager, designer, or developer, you will often want to know the size of different elements on an image or the distance between elements, and Shottr provides this built-in feature so that we don’t need to use other clunky methods.
It is also easy to use. Pressing up or down while moving the cursor over the image will show the vertical height in the editor; similarly, pressing left or right will show the horizontal width in the editor.
After measuring, click on the place you want to mark, and the result of the measurement will be fixed on the picture. We can also move the line segment and the value next to it, modify the length of the line segment or the unit of the value, make minor adjustments, and change the color of the annotation. However, in the current version, there is no adsorption function for the annotated line segments, so they may not be aligned well after moving, and it is better to re-measure them at this time.
Three Color Pickup Modes
Color picking is also an important part in design process. I used to use iShot, and I liked its color picking function. Unlike iShot, Shottr does not pick up colors in real time during the screenshot process, you need to take a screenshot or open an existing image before picking up the color in the editor.
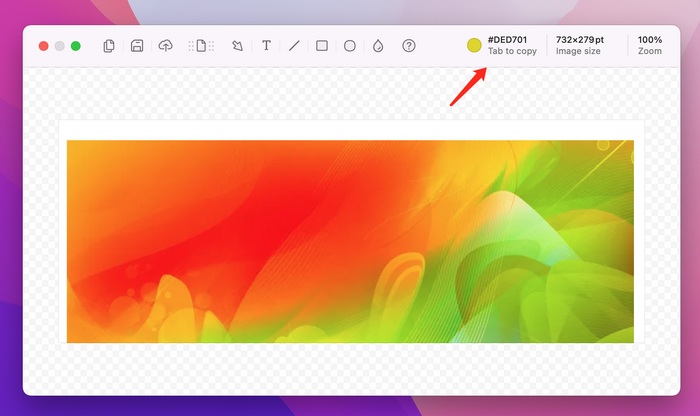
As the cursor moves over the image, the color displayed in the upper right corner changes. Press the tab key to copy the color value to the clipboard. It is also a good idea to zoom in and pick up the color later. We can also change the format of the color values to fit our everyday needs.
If you want to pick up the color of the text, we know that the center and the edge of the text stroke are different shades of color, and the color of the text is actually the middlemost color. Put the mouse over the text, without being very precise, and press ⇧ tab to copy the darkest color within 20 px of the pointer.
Also, if the image has a gradient or vignetting effect, frame the area and press C to copy the average color value of the area.
Selection and Cropping
Too many screenshots? Use the mouse to frame the area you want to keep and press enter to easily crop it. After creating a selection, the selection size will be displayed in the upper right corner instead of the image size. We can also change the display unit, pt or px, and press P to switch quickly.
In addition, Shottr also provides many mart selection functions.
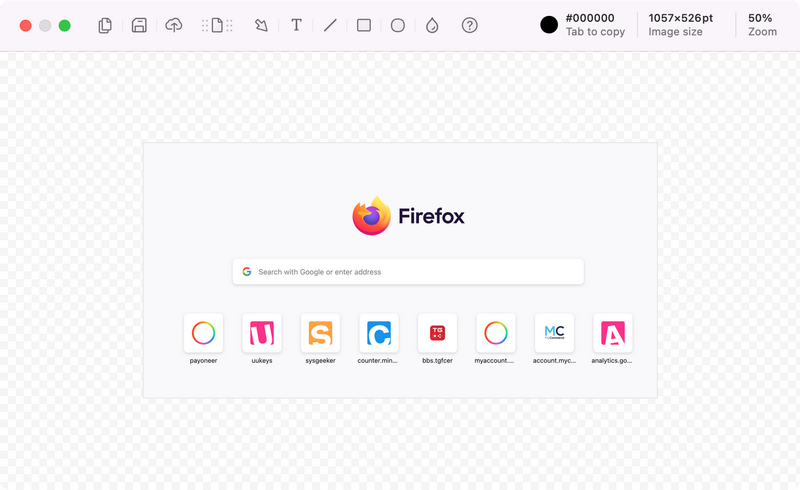
After selecting an area, press the A key and Shottr will automatically resize the selection. For example, in the picture below, I created a selection around the Firefox logo, and when I pressed A, the selection was reduced to around the icon and text. This feature is especially useful when only text is selected, or when the background and foreground are very clear.
Alternatively, you can hold down the option key while dragging the mouse to create a selection, and a blue preview box will appear in the editor, telling you how the selection will automatically adjust.
Markup and Mosaic
The markup toolbar is not much to introduce, it is a very common function, from left to right are: arrow, text, line, rectangle, ellipse, mosaic.
Shottr’s annotation style is more pop, you can change the color, change the style, etc.. One interesting point is that there are many styles of arrows, and some shapes can be "curved". The following are some examples. And Shottr’s mosaic function, in addition to the common "blur" effect, also provides an Erase clear effect. Box the part that needs to be coded, press the delete key, it looks as if directly deleted. For example, in the following figure, I deleted several squares.
The specific way to achieve this is to calculate the surrounding color and overlay a rectangular box on top, so that the selection looks like "disappeared". So it may not work so well in complicated scenarios, but it’s surprising enough.
OCR
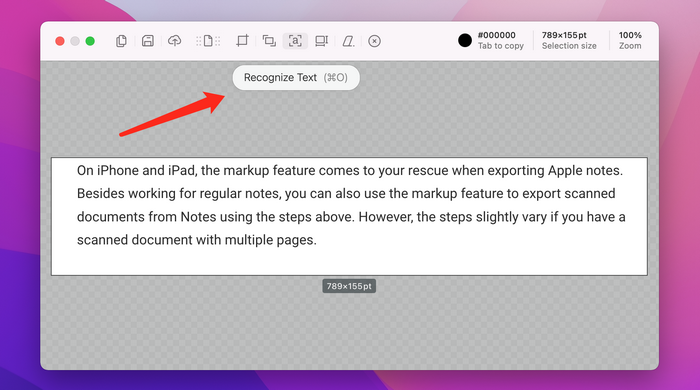
Since macOS Monterey has built-in OCR functionality at system level, third-party OCR tools don’t seem to be particularly necessary anymore. However, there are still many computers that don’t support this feature, and Shottr offers a simple and fast OCR that is still very good, with the ability to change the preferred recognition language in Preferences.
Its default shortcut key is control + option + command + O. It looks like a lot of keys, but the modifier keys are three in a row connected together, so just press them together. You can also change the shortcut keys freely.
In addition, after boxing an area during screenshot editing, you can also implement OCR in the selection toolbar.
After trying it out, the recognition speed is still very fast. After recognition, it will be copied to your clipboard for future use.
Version 1.5.3 has been updated with several useful preference items for setting the default behavior after taking a screenshot. shottr will open a preview window by default after taking a screenshot of a region, with several buttons for edit, copy, save, upload, OCR. pressing edit or enter will take you to the screenshot editor described above. If you don’t want the preview window to appear and want to go directly to the editor, you can select Show Editor in the Area Crop Behavior settings.
Conclusion
Shottr is an very useful and powerful tool for taking scrolling screenshot on Mac with excellent shortcut support. It also offers many features that are only available in paid tools, so I’ve switched to Shottr app as my default screenshot tool. On the official website, I also see some of the authors’ future outlooks.
- Font recognition
- Free markup with stylus
- Screenshot management tools
And so on, I believe there will be more exciting updates in the future. If you like it, go here to download Shottr.